Sublight Autocannon Build: Explosive Pressure and Turret Uptime
How to build around autocannons in Sublight after the 0.18 explosive-damage change, including range, attack speed, crits, arcs, and hull handling.
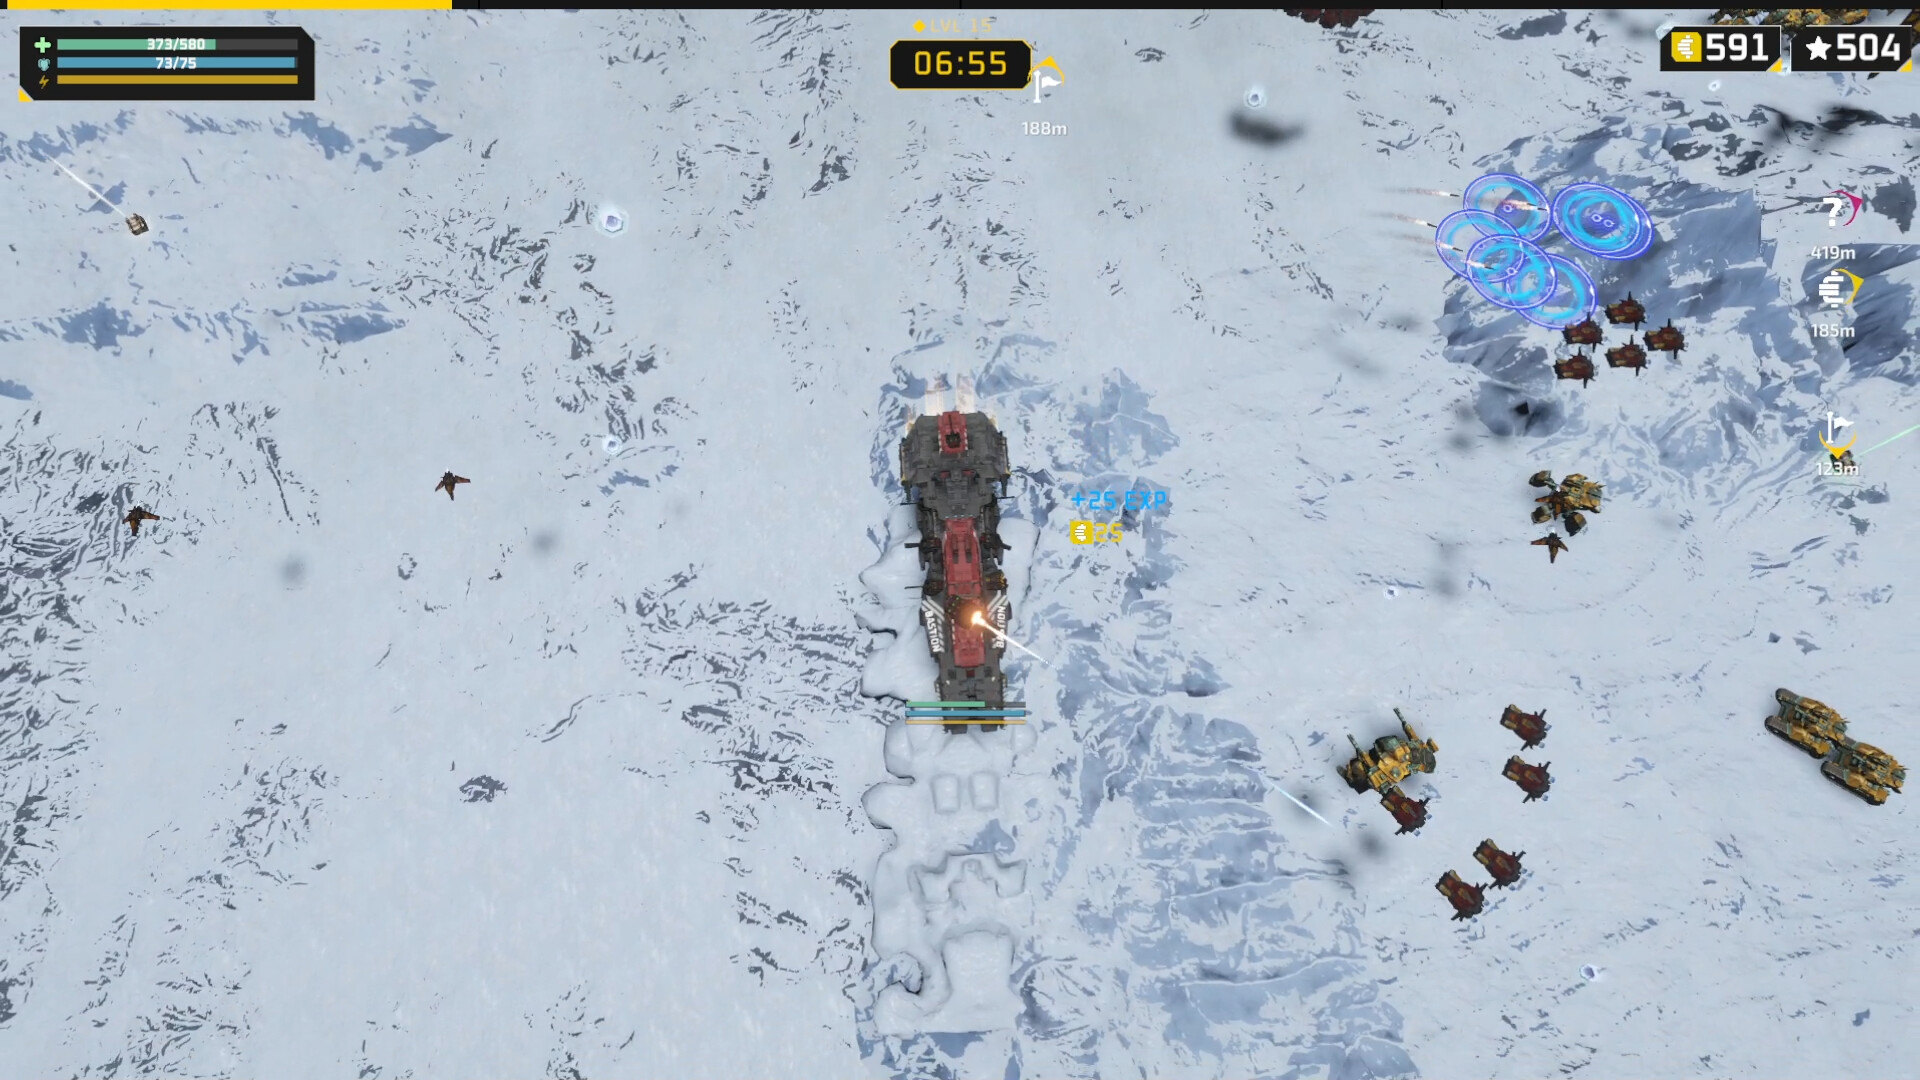
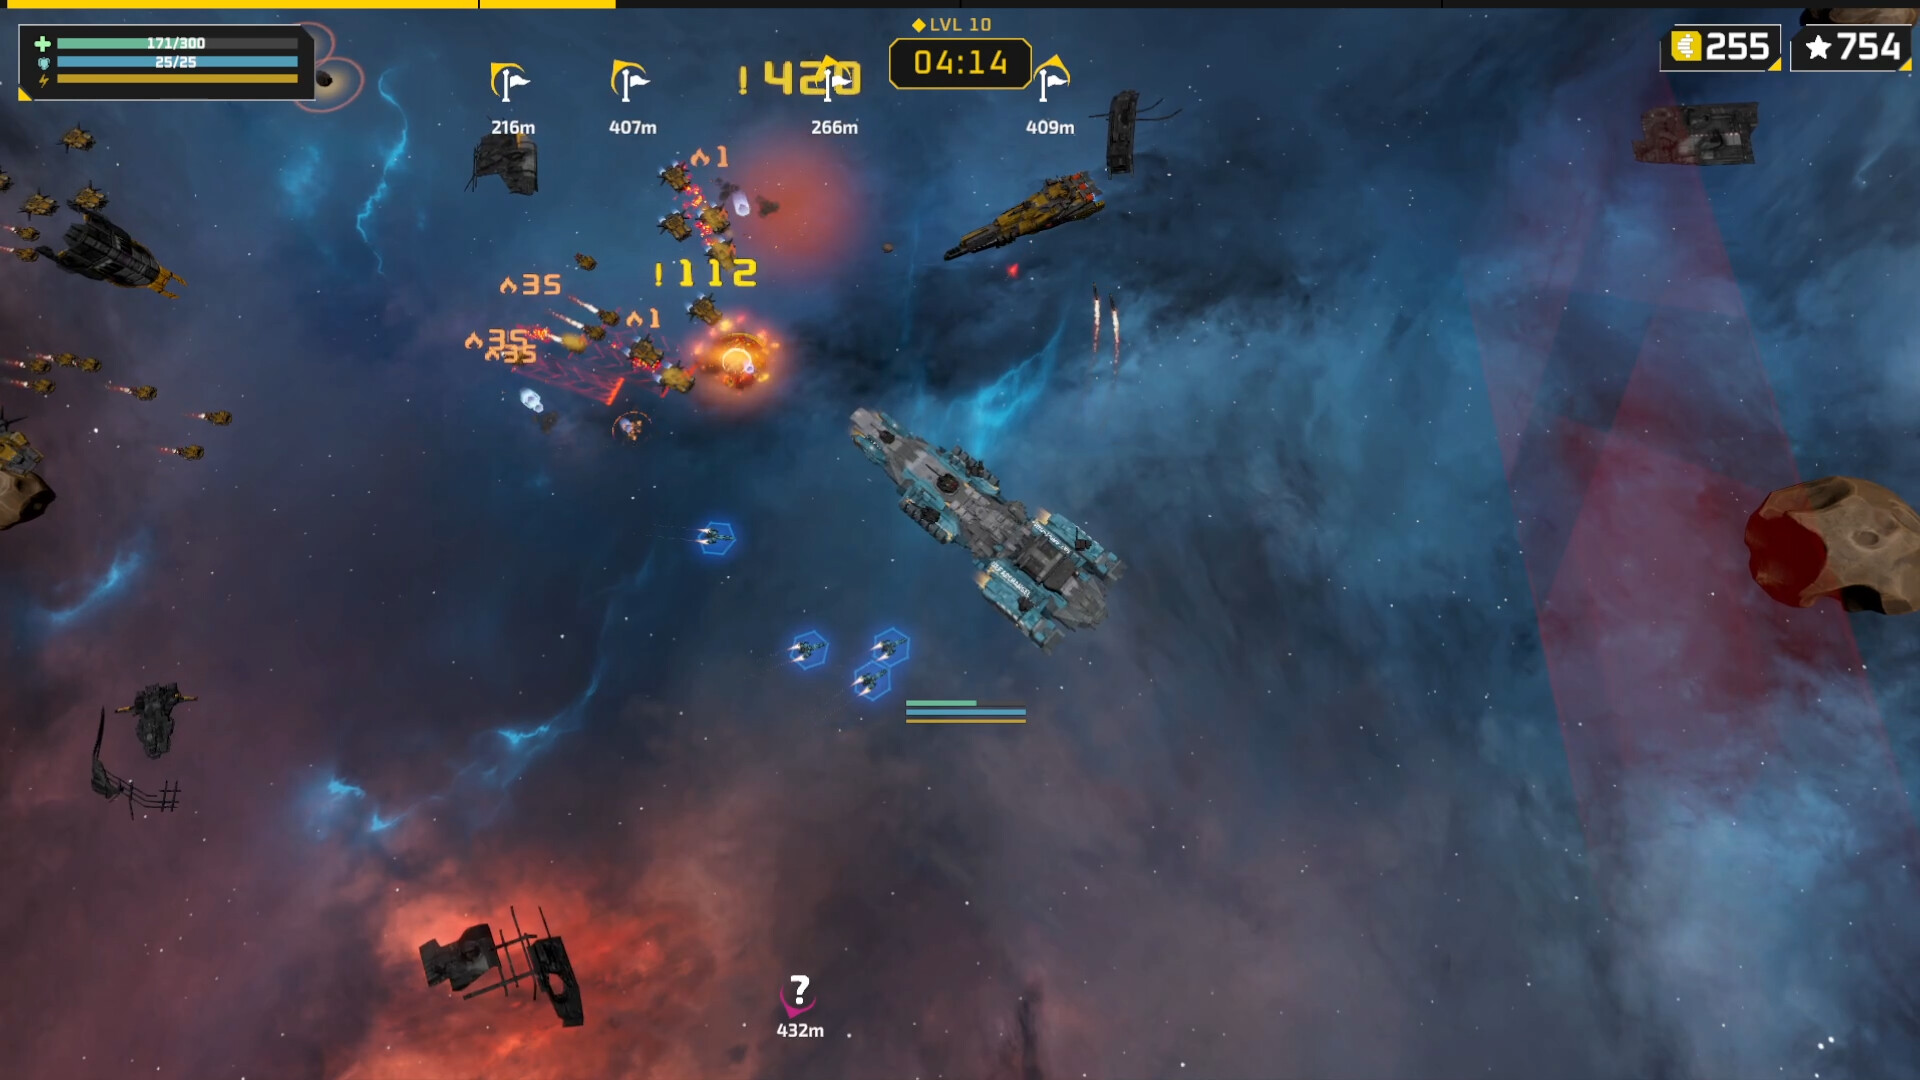
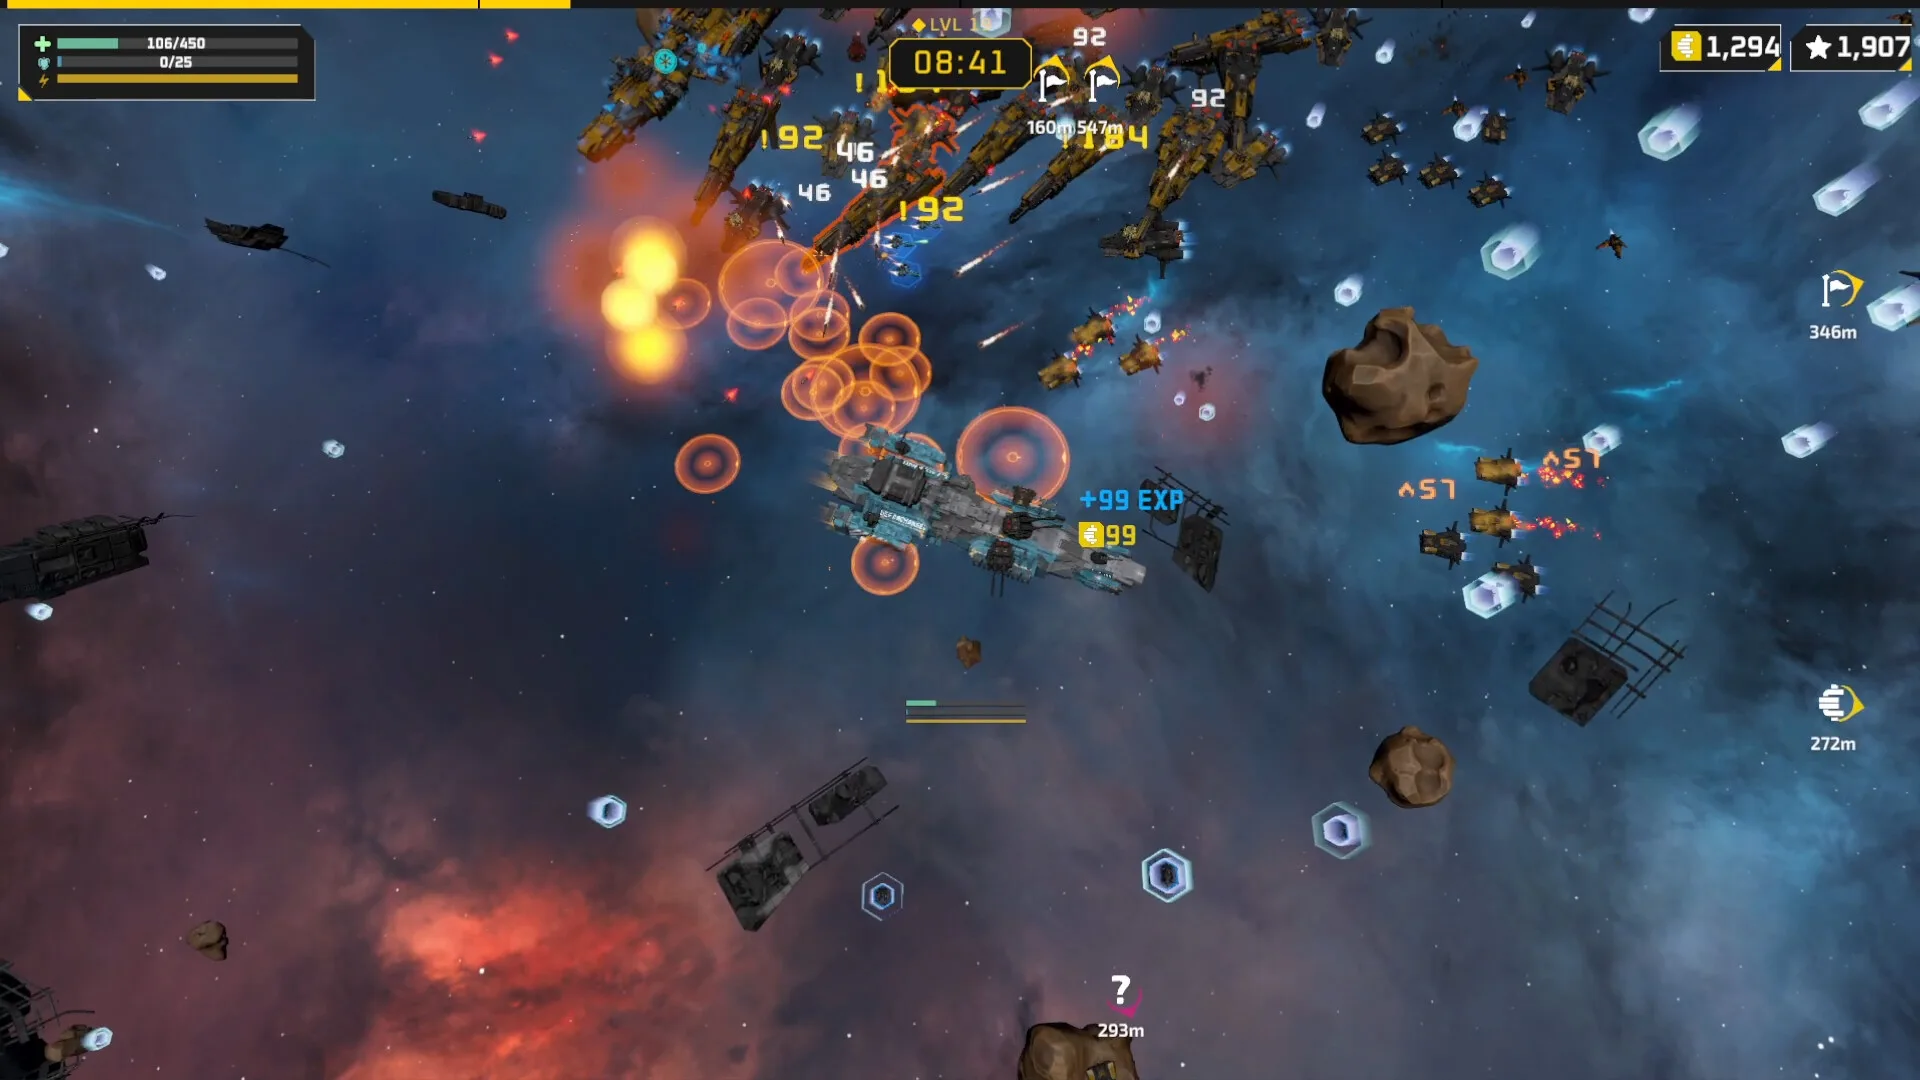
Autocannons are now an explosive-damage weapon family, so build them around explosive bonuses, attack speed, usable range, and enough turn speed to keep the mounts on target. They reward steady direct pressure. The biggest mistake is reading the damage card in isolation while ignoring firing arcs and how long the turret actually has a target.
The important 0.18 change
Autocannons were moved to explosive damage in the official 0.18 patch. That changes how you should evaluate passive synergy. If an older video or guide calls them something else, the current official patch rule wins.
Priority stack
| Stat | Use |
|---|---|
| Explosive damage | Primary category synergy |
| Attack speed | More continuous pressure |
| Attack range | Starts dealing damage sooner and improves practical uptime |
| Crit chance | Useful when the build already has enough base throughput |
| Turn speed | Helps keep fixed or narrow arcs connected |
Use target priority to stop wasting arcs
Sublight's target-priority options include Nearest, Nearest in Arc, and Focus Boss. For autocannons, Nearest in Arc is a strong default when you want consistent firing time. Switch to Focus Boss when a boss is the real run-ending threat and the surrounding swarm is already under control.
When this build feels best
Choose autocannons when you like direct gun pressure and do not want to wait for projectiles to curve back toward targets. They pair naturally with a hull that can keep its best mounts pointed into the fight instead of constantly fleeing nose-first.